
Introduction
When it comes to email, people usually think of Gmail. Whenever someone needs to sign up or do something related to email, they typically choose to register with Gmail. However, due to the high demand, creating a new email account has become increasingly difficult. Today, I will guide you on how to create a free email service with Lark.
1. Prepare
To do this, you need to prepare a domain name and a personal email.
Emailfor registering to useLarkDomain namefor registering to useLark's email service
2. Create Lark account
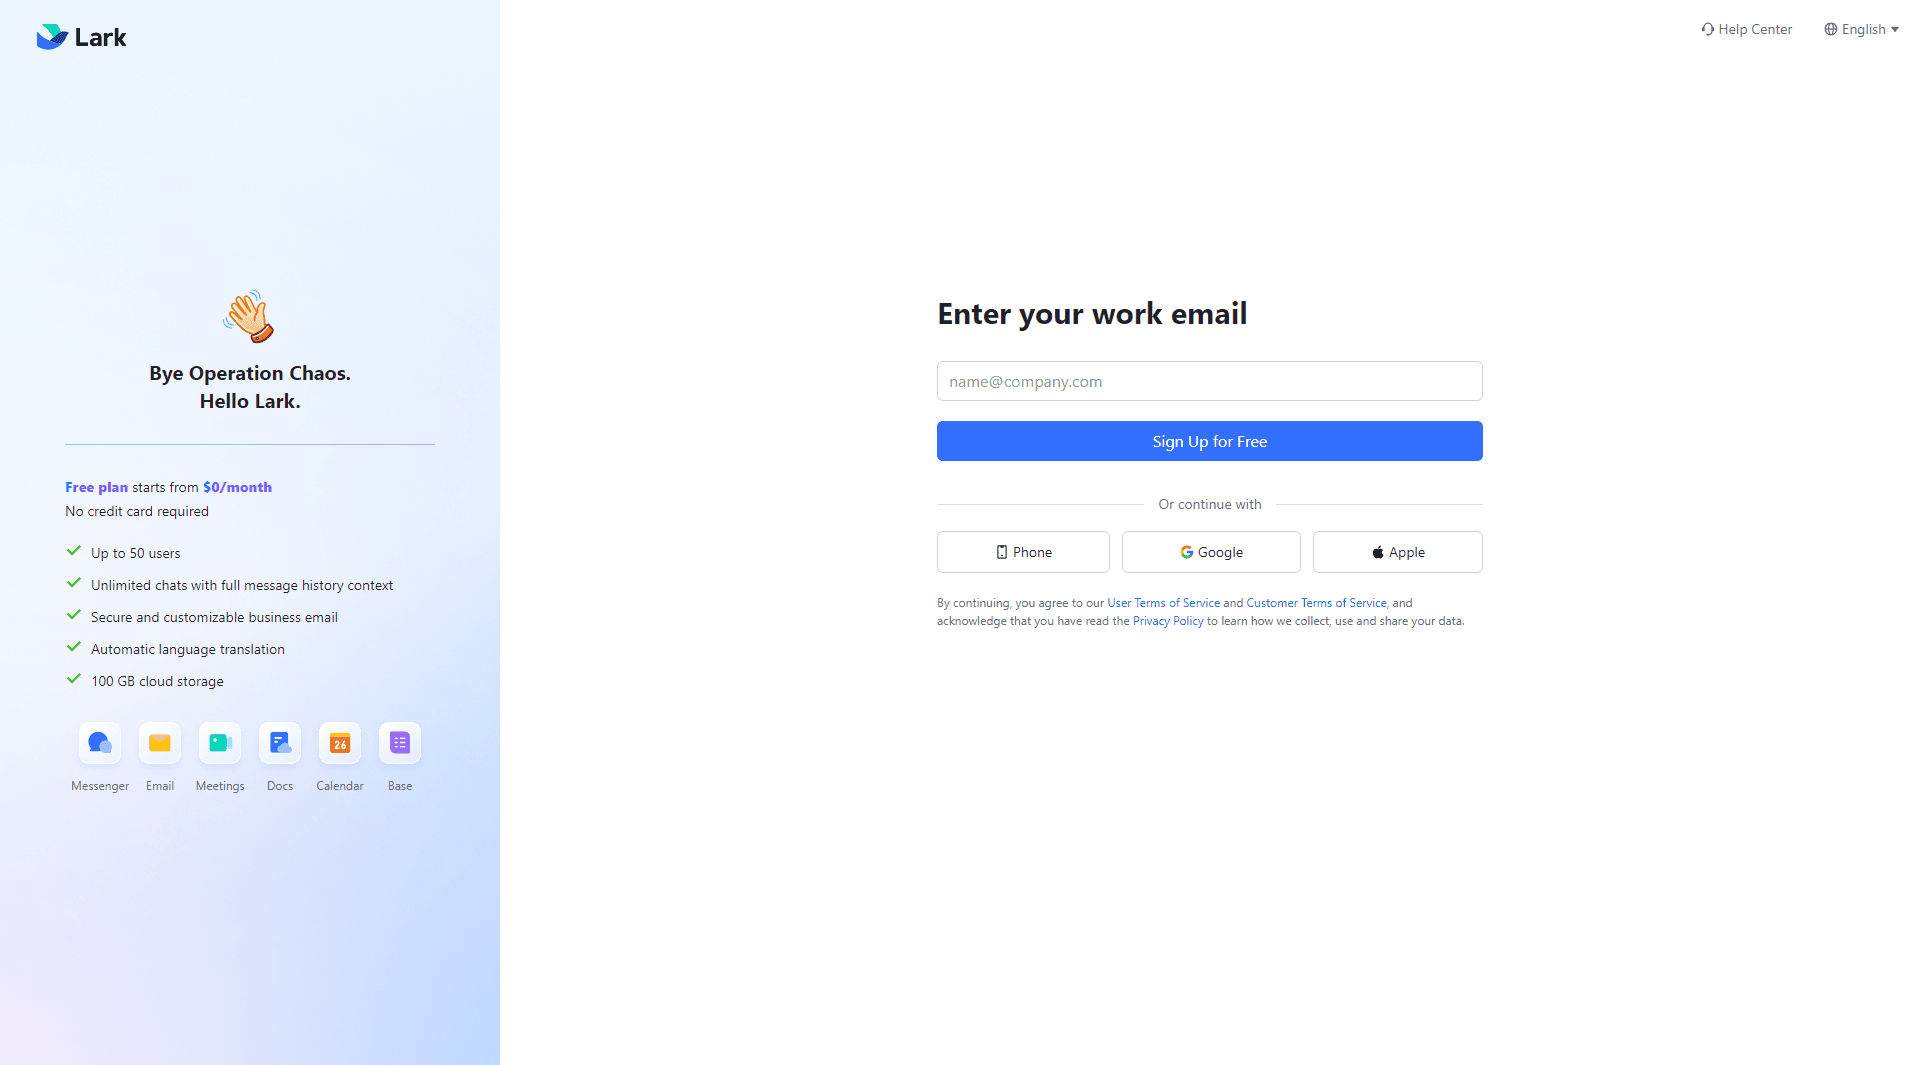
2.1 Create account
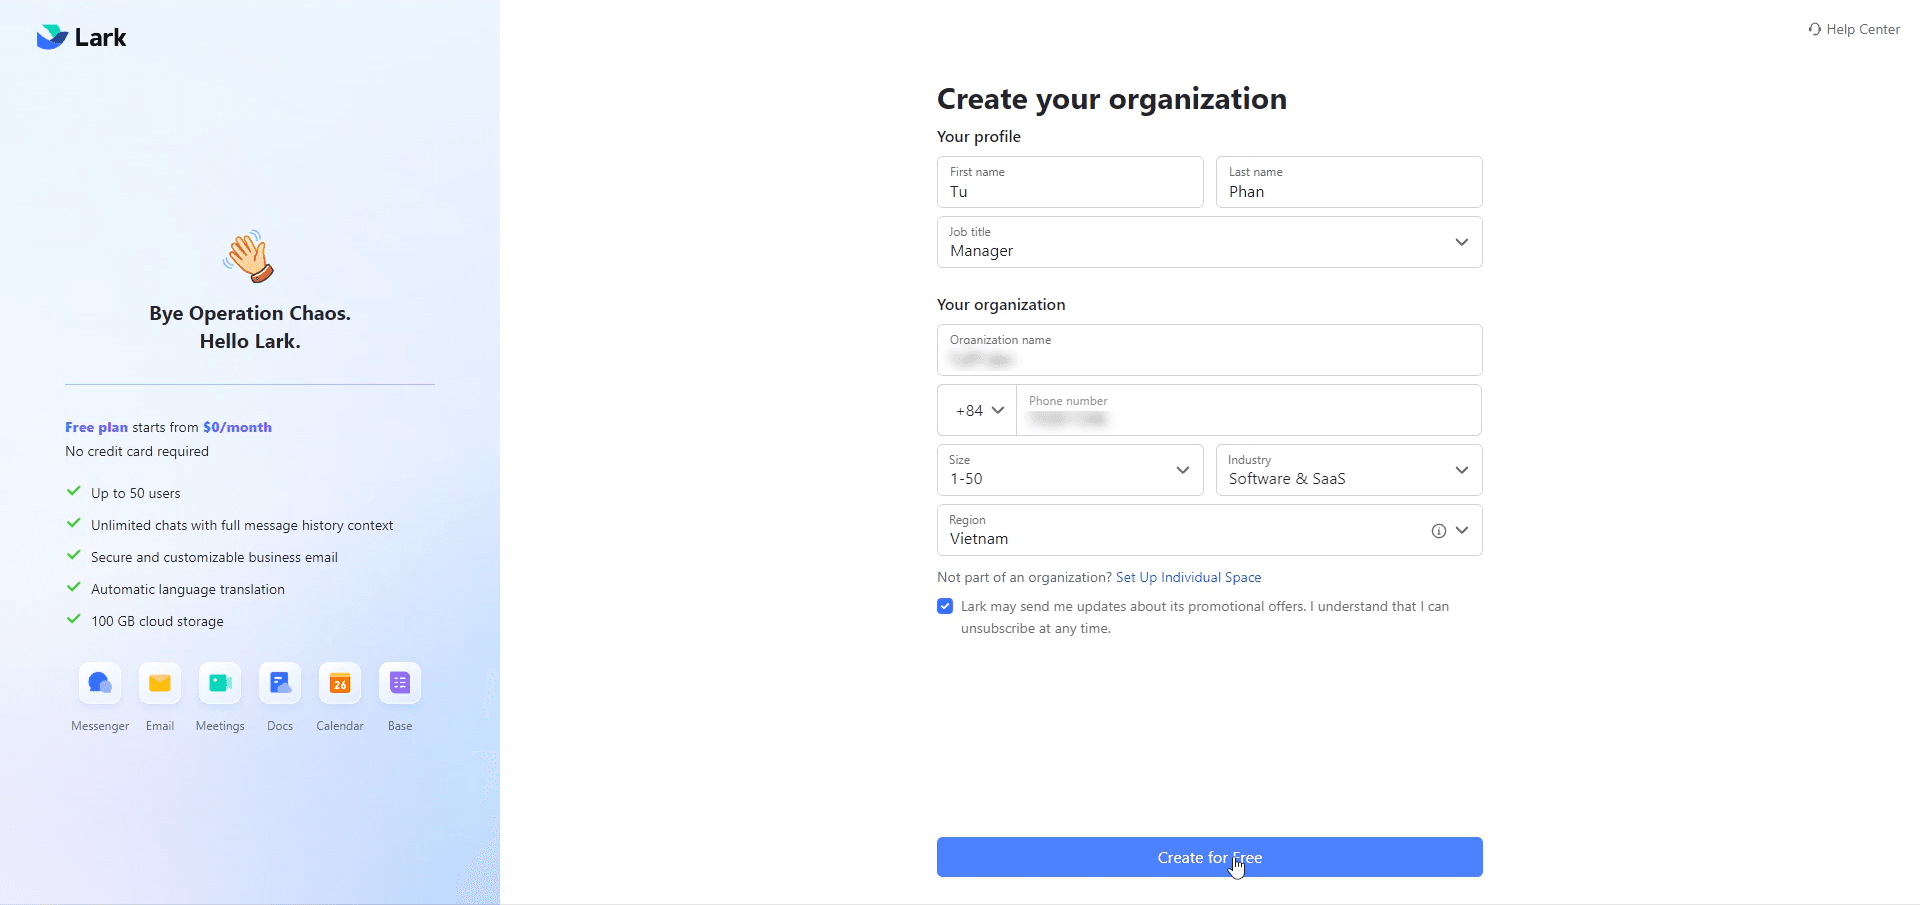
2.2 Create organization
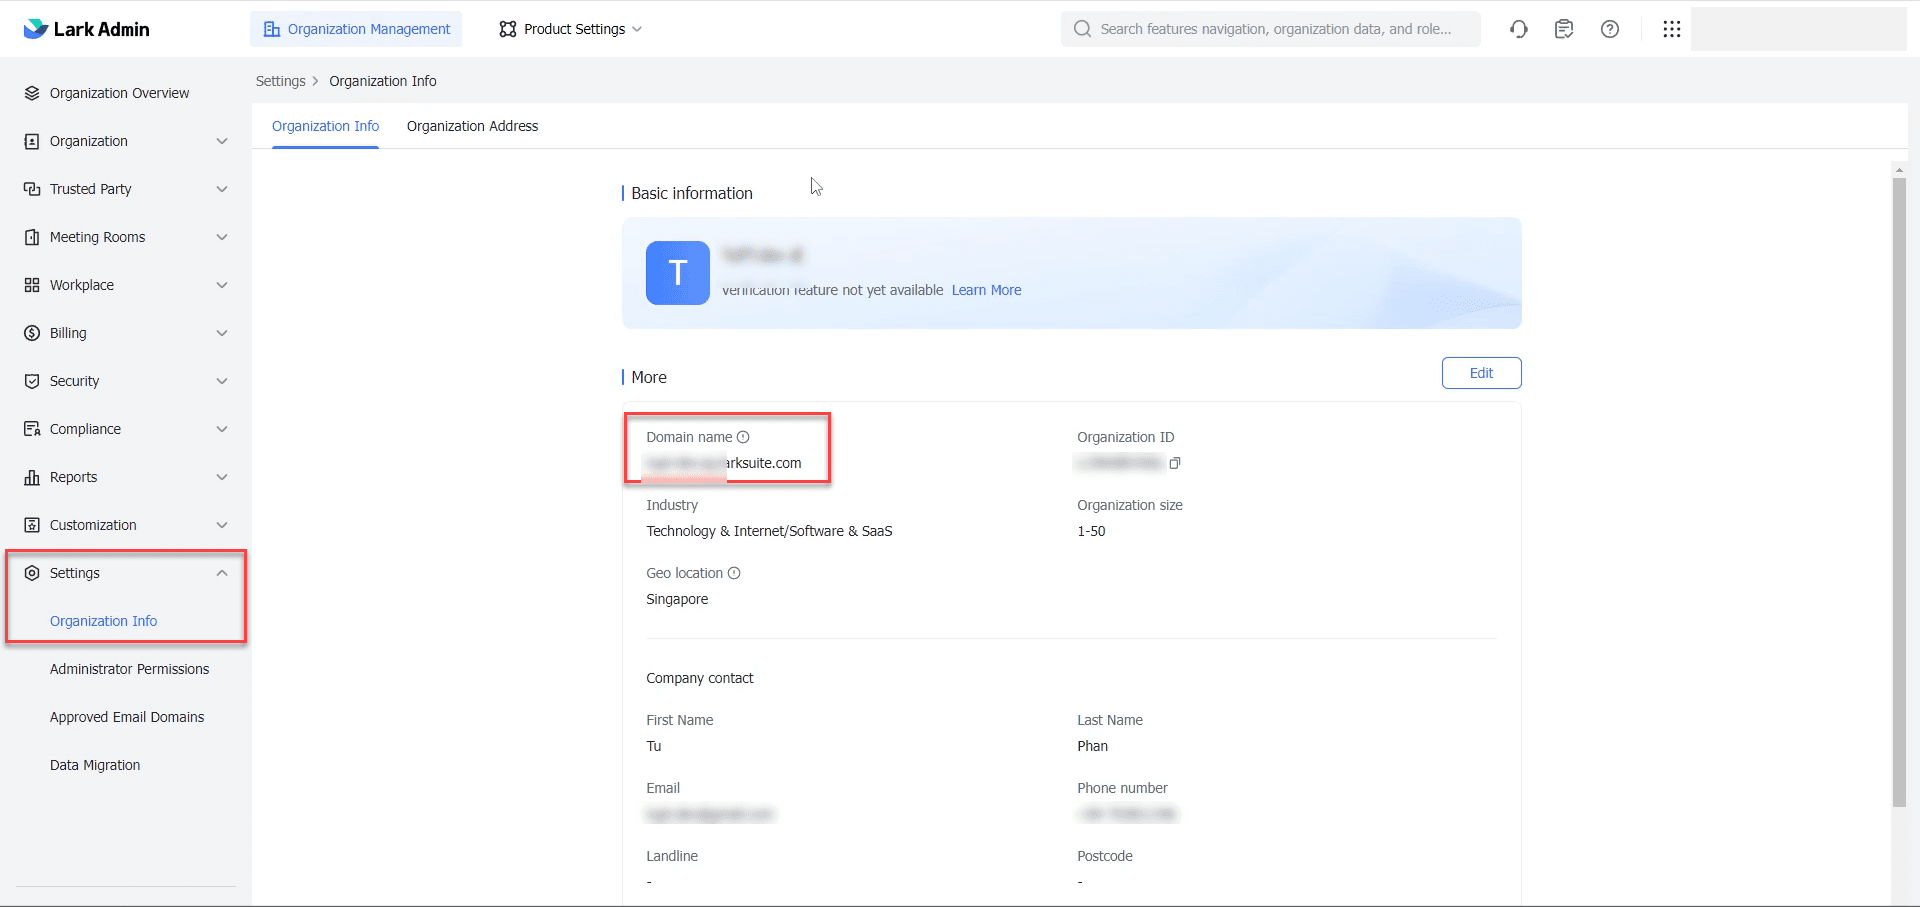
2.3 Setting up the domain name when using Lark
3. Setting up the mail domain
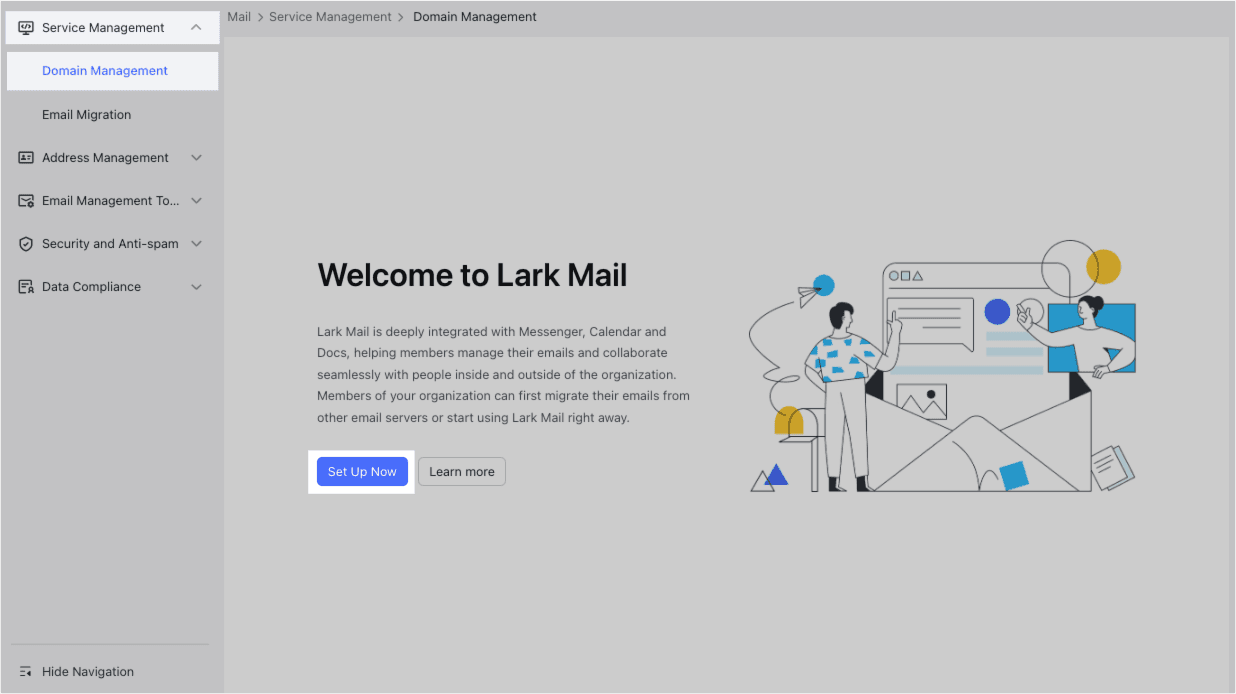
3.1 Installing Lark Mail

3.2 Configuring the email
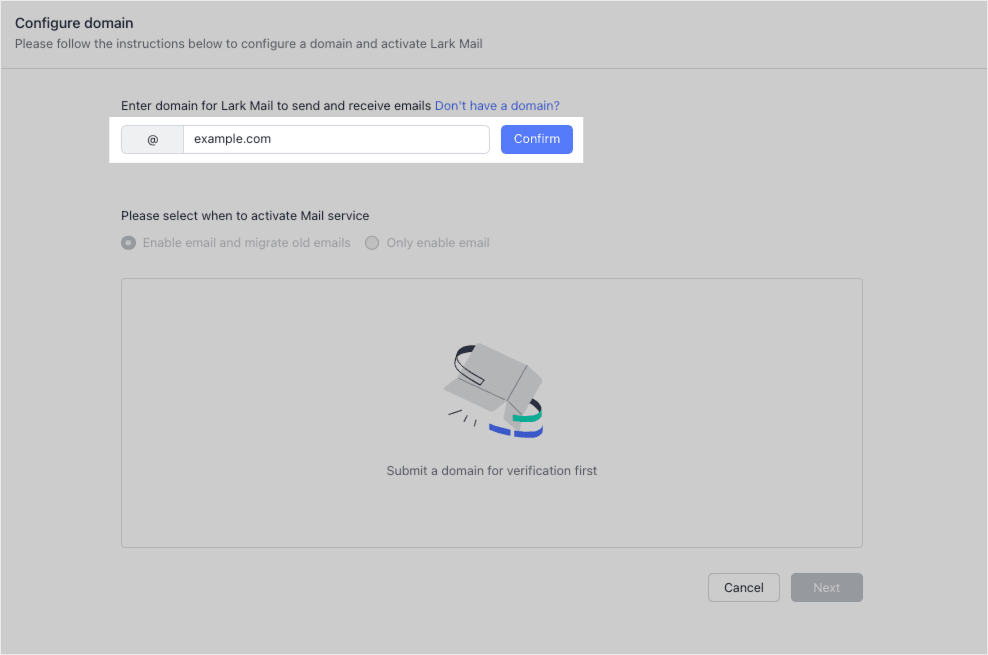
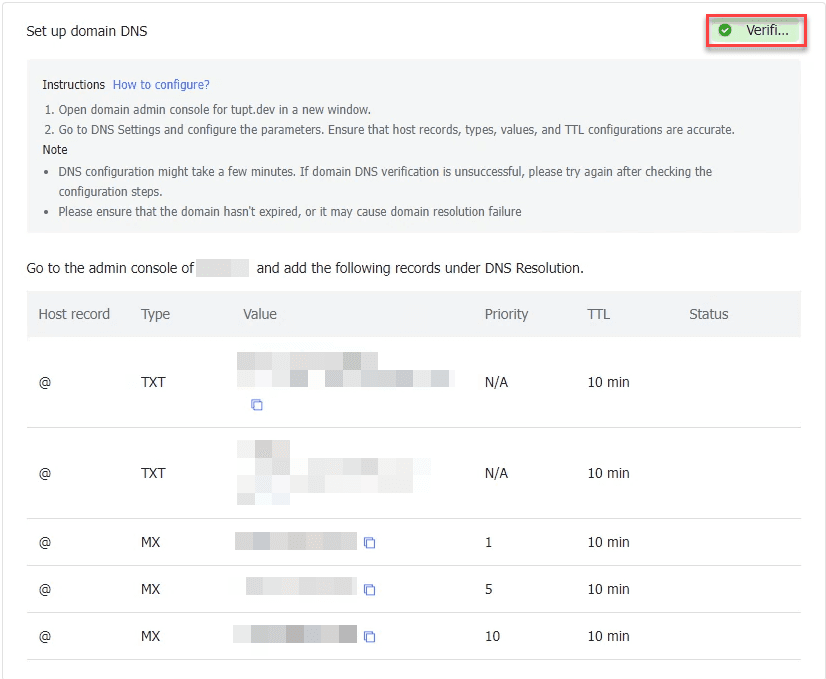
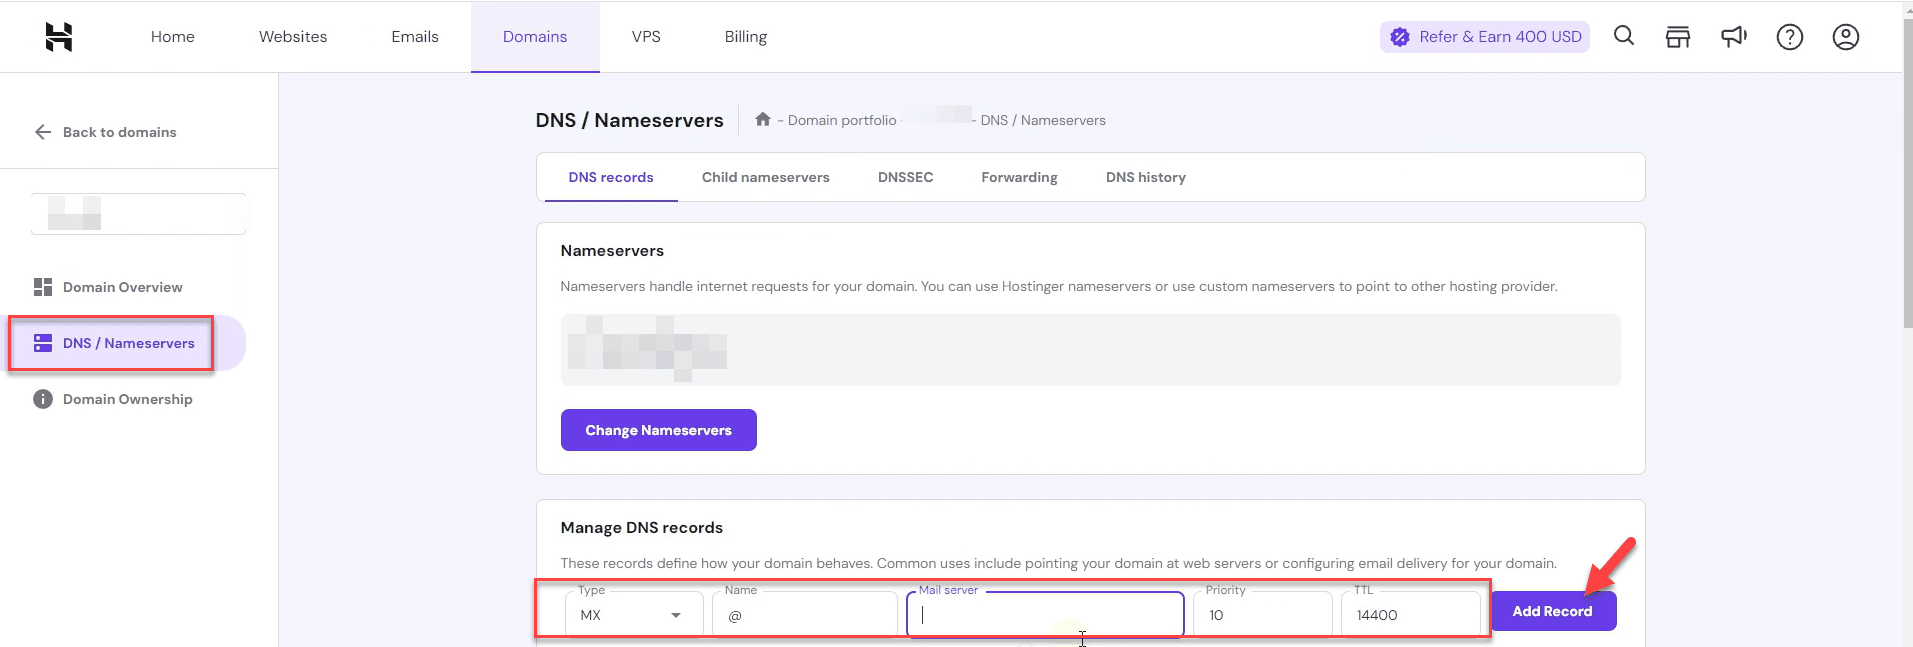
3.3 Setting up the mail domain
Configure Lark's DNS information to your domain DNS and check until the status is verified as shown below.
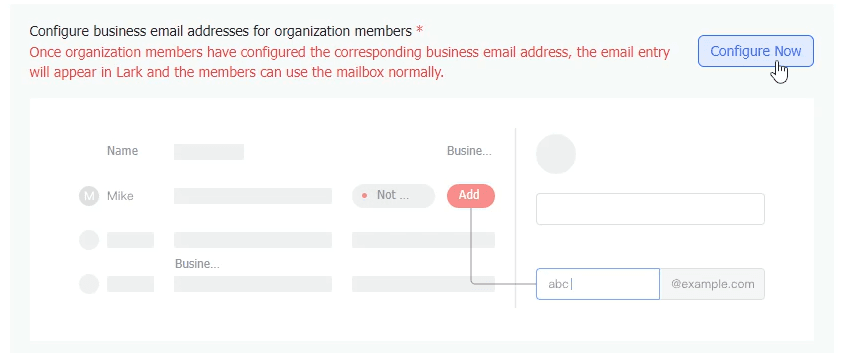
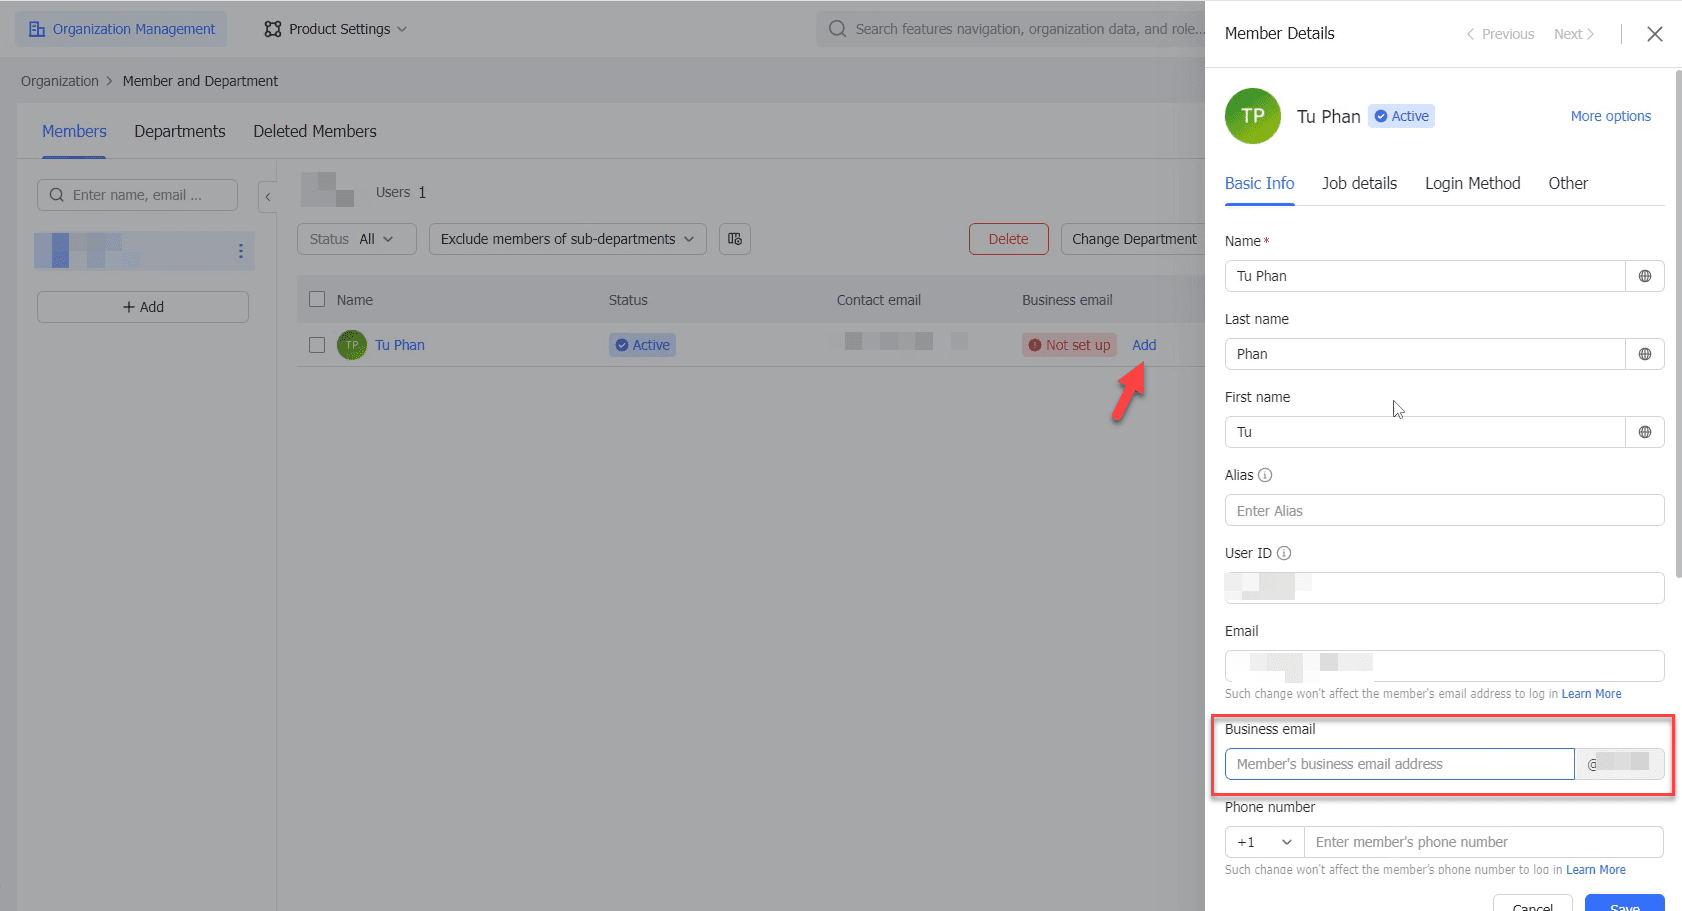
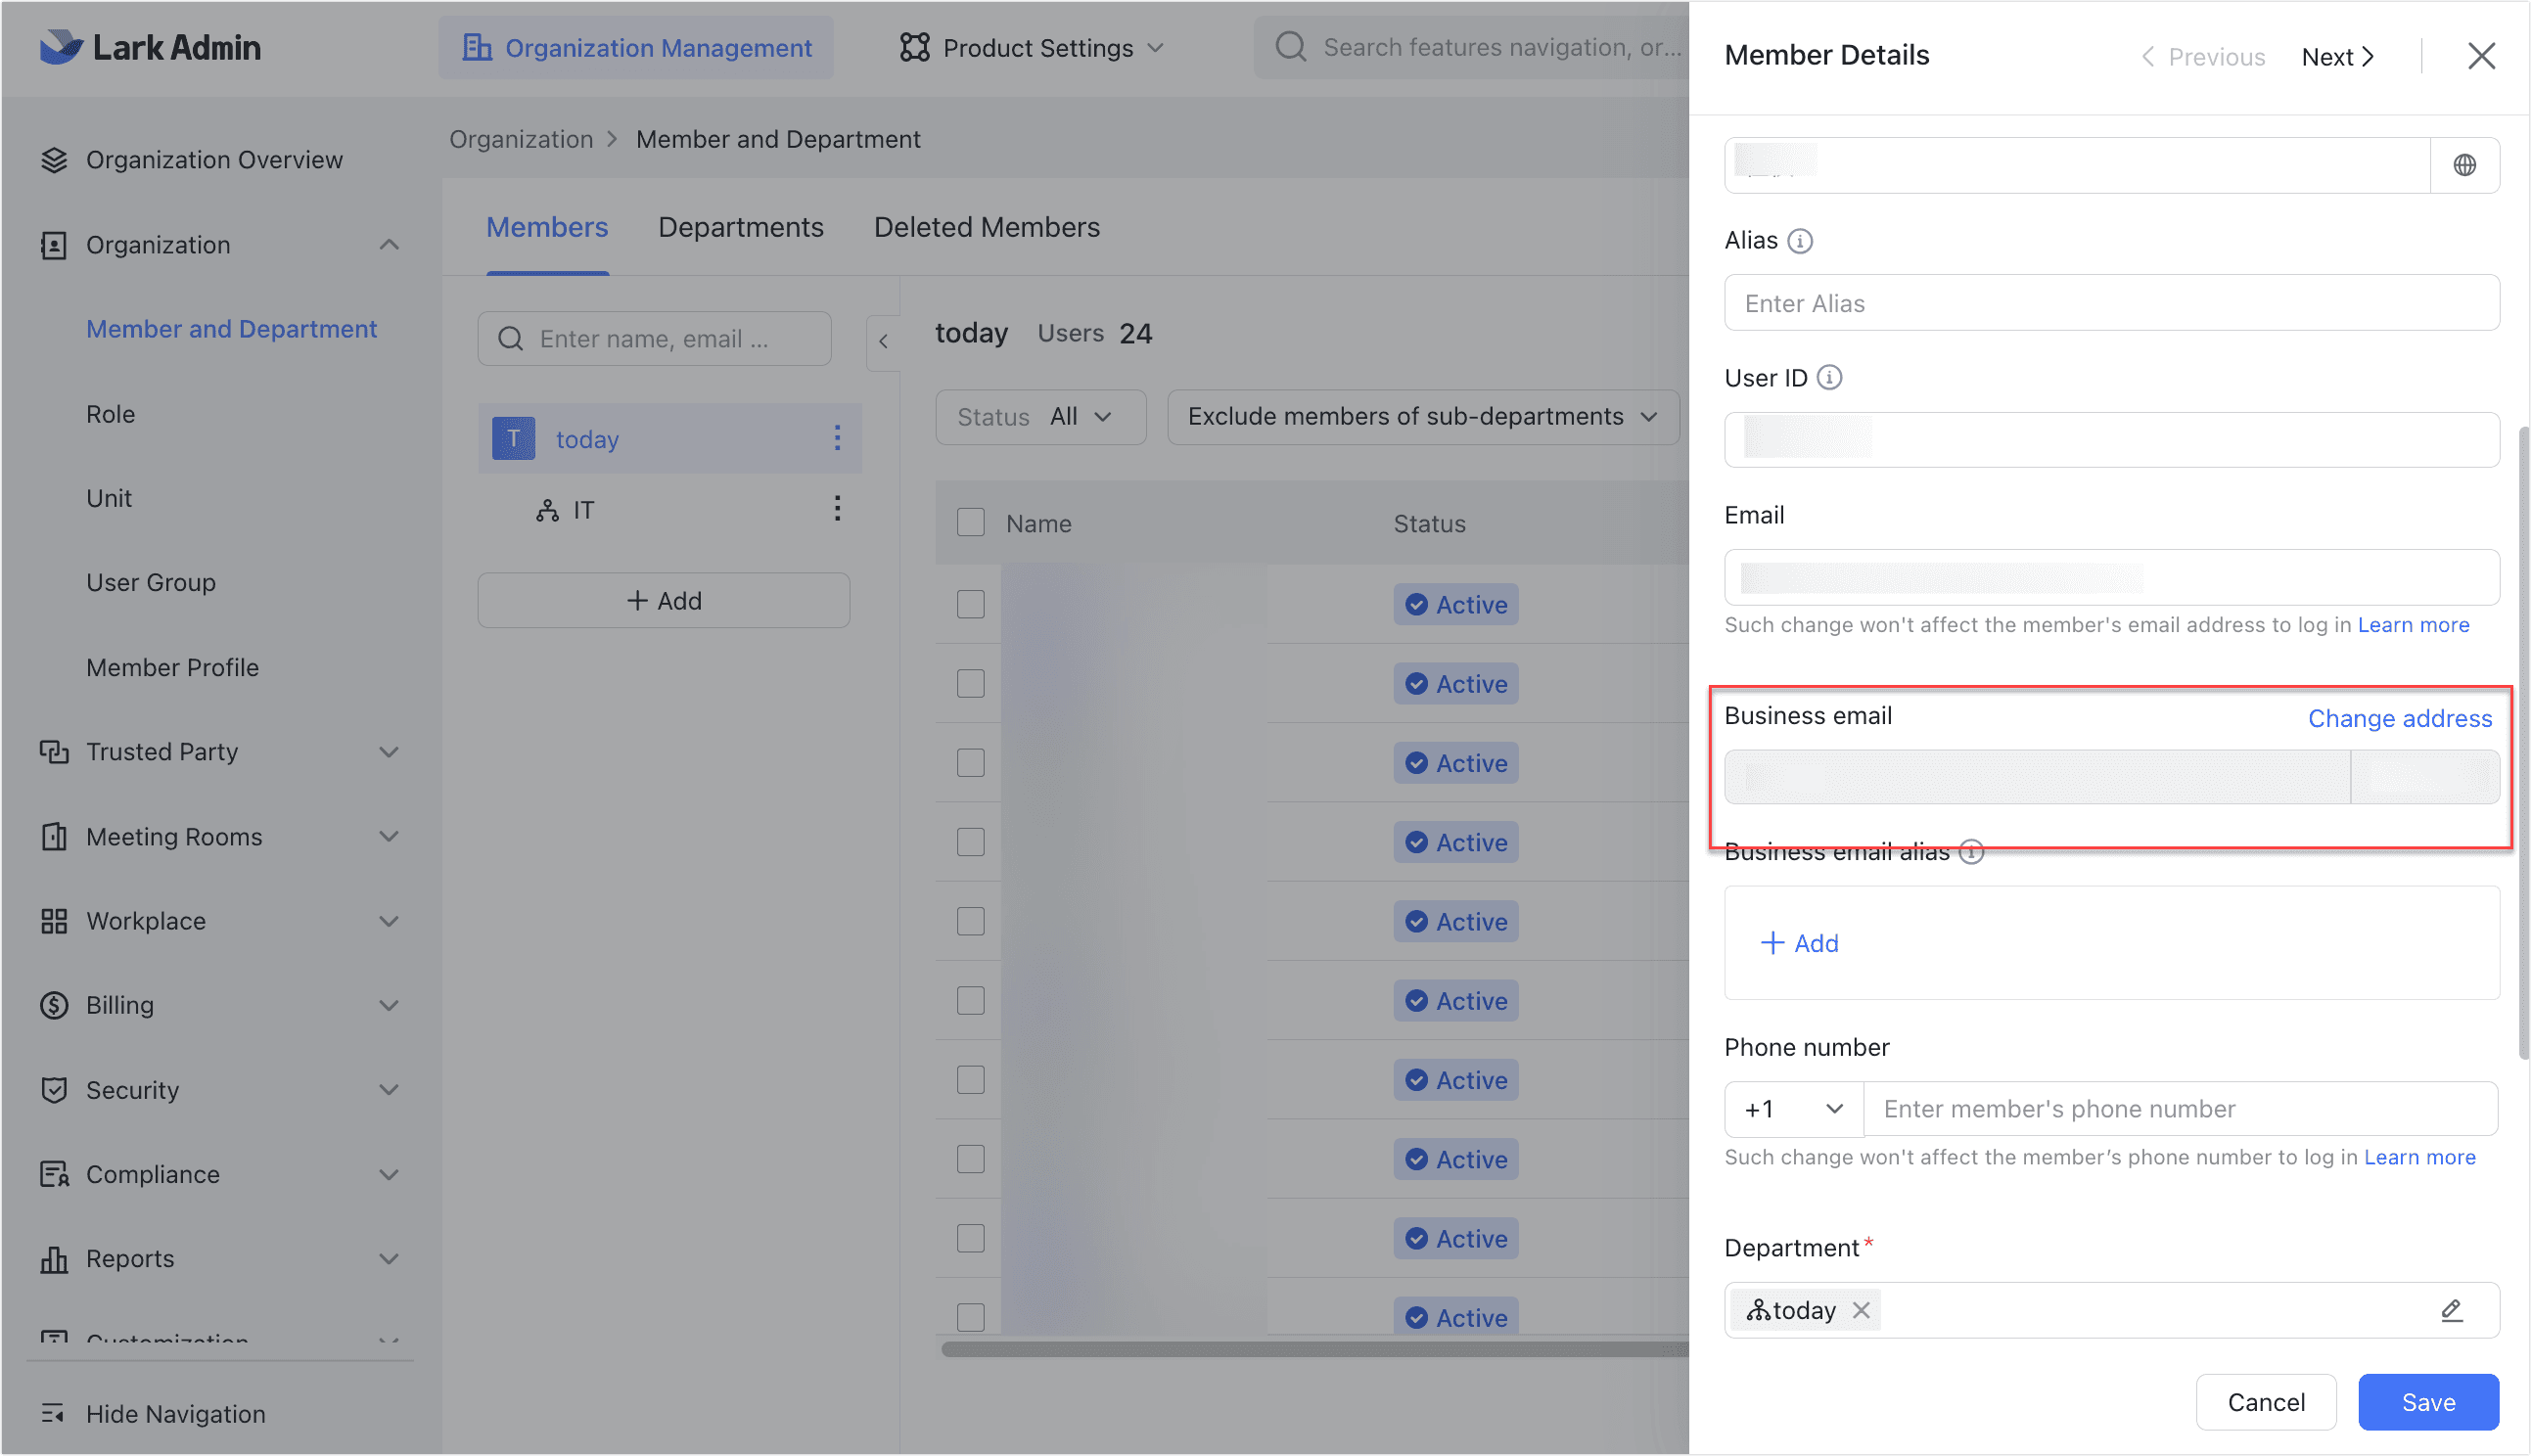
3.4 Setting up a business email for the super user
4. Creating and Using Email
Conclusion
By following these steps, you can create an email service for use.
As of (2024-08-07), Lark offers a free trial for up to 50 accounts (corresponding to 50 emails). With that many emails, you can comfortably use them for testing purposes.
Happy coding